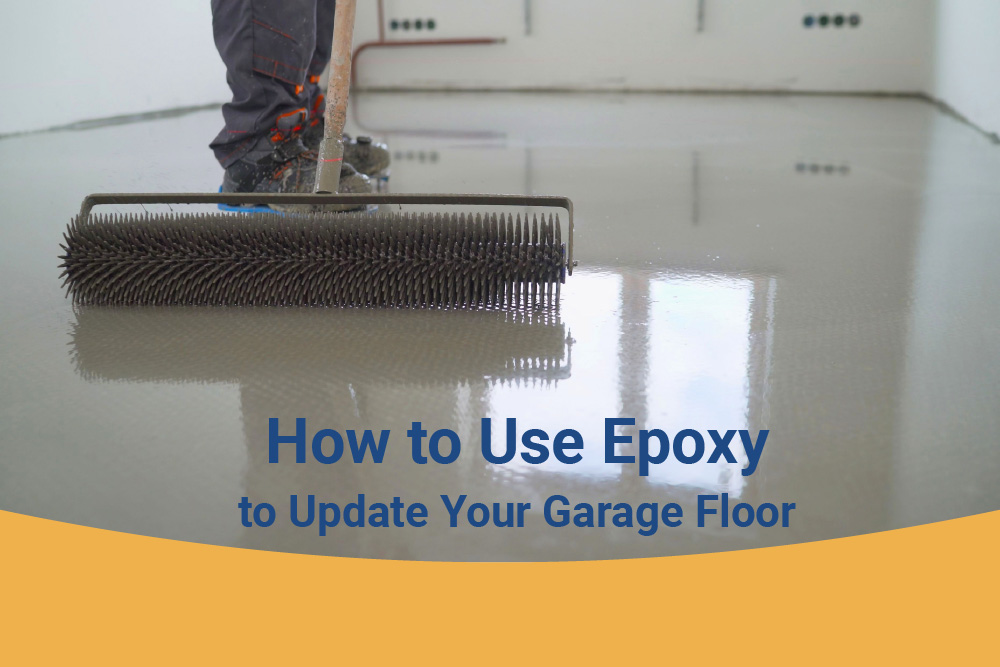
Painting Company Tips: How to Use Epoxy to Update Your Garage Floor

Applying an epoxy coating to your garage floor offers several benefits beyond just cleaning or painting. While paint dries to the surface but can be scraped up, epoxy cures to the floor and to itself, creating a much more durable bond. If you are thinking about applying epoxy to the floor of your home or business, read on for tips from our painting company.
Determine if Your Floor Will Accept Epoxy
For those who live in the Las Vegas area, there is little chance that your concrete floor will not accept epoxy. However, it is a good idea to go ahead and do a moisture test to be certain.
Tape a piece of plastic to bare concrete for 24 hours. After 24 hours, lift the plastic to see if there is evidence of moisture under the plastic. If your garage floor is releasing moisture, the water pressure will eventually cause the epoxy to release. You may need to get your drainage looked at to protect your slab from water damage over time, then moisture check it again.
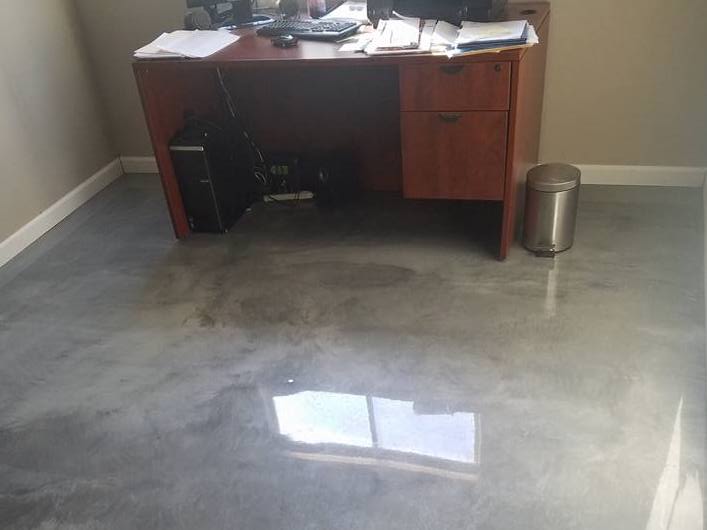
Read about the surprising benefits of a newly painted office space.
Clean and Clean Some More
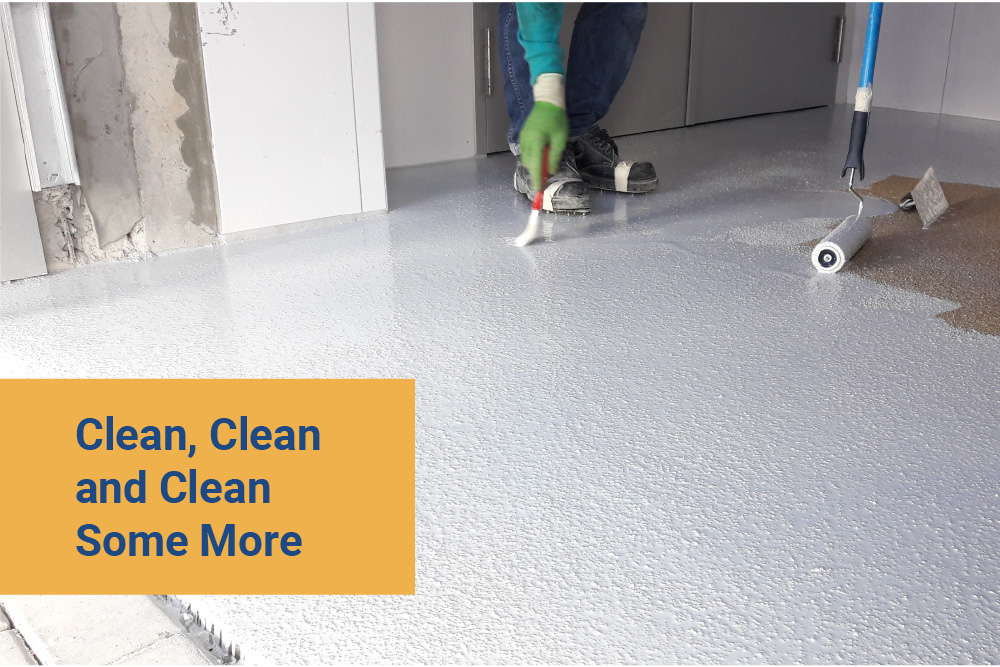
For those getting ready to epoxy a garage floor, painting is probably old hat. As you know, the majority of the work of painting is preparation. Epoxying concrete is another project that will produce a much more satisfactory outcome if you put most of your time into prep work. To get started,
- remove everything from the garage
- sweep the space with a stiff broom
- vacuum up fine dust
- rinse the floor with water
- degrease the floor
- scratch up any paint currently on the floor
Be prepared to put a couple of days into the project and try to do it when the humidity is low.
Consider Patching
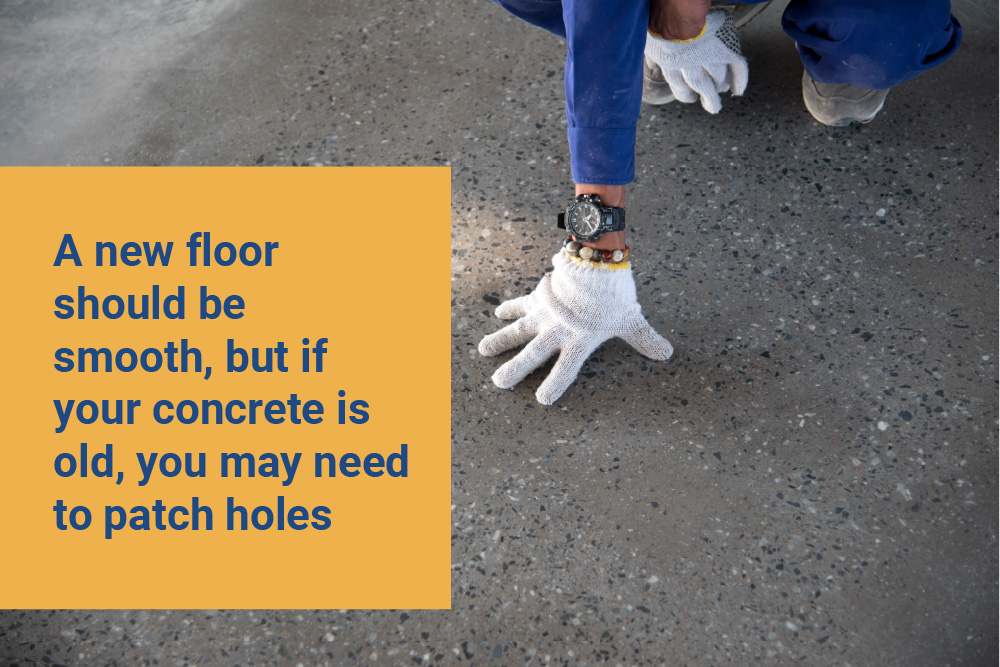
A new floor should be smooth, but if your concrete is old, you may need to patch holes, clean up any shearing or spall, and wait. If your concrete surface needs patching, you will need to give it two months to cure before applying the epoxy.
While you are washing the floor, look for areas where liquid beads up. This is an indication that the concrete has been sealed in the past and any remaining sealer will need to be stripped.
Mask Your Walls
While epoxy has a honey-like consistency, the etching acid will be closer to water. Make sure you mask your walls before you mix your acid to etch the concrete to avoid needing to paint once the epoxy is cured.
If there are baseboards in place, consider removing them so you can clean, etch, rinse and roll right to the edge of the concrete for consistent coverage.
Etching is Critical
Once the concrete is bare, you will need to etch the concrete for best cling. Acid can be quite dangerous and may splash. You will need
- long sleeves
- gloves
- eye protection
- fume protection
- lots of fresh air
Your mixing bucket will need to be filled with the necessary amount of water before you add acid to the container. Never add water to acid. It could splash back and cause permanent damage. Use a spray container or a garden watering can to apply the acid and keep a drip container of water close by so you can keep the acid mixture wet.
When the concrete is done bubbling, neutralize the acid and rinse the floor. The floor will need time to dry thoroughly before you can start applying the epoxy. Be aware that the critical temperatures for application and curing are between 60 and 90 degrees Fahrenheit. Keep an eye on the calendar to get this right and talk to your Las Vegas painter about how to time this properly.
If you are working with a painting company to get your epoxy project done, you may need to rent a storage unit for your garage gear. The cleaning may be done in a day, but stripping, etching and the dry time after the final rinse will take time.
Mixing and Applying the Epoxy
Epoxy undergoes a chemical reaction once you mix the components. Make sure you have all of your gear, including rollers, brushes and clean footwear, in place before you mix the components.
As house painters know, dry lines look bad. If your epoxy spends too much time in the bucket, it becomes a dry lump. For the simplest kits, you just need to put
- two parts A
- one part B
- your chosen pigment
into the bucket and start mixing. For best blend, use a fully charged drill and a paddle. Time this and blend it for two minutes. Once blended, you have about two hours before you run out of spreading time.
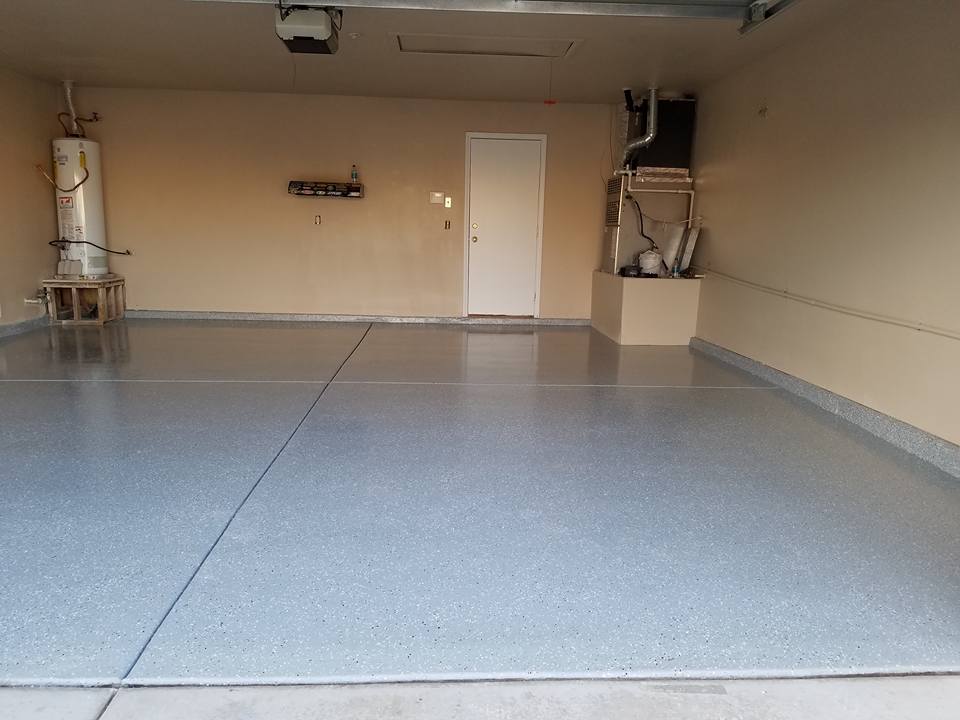
If you are using color flakes, you will need to spread epoxy in a small area that you can easily reach over, sprinkle, then work the next stretch of floor and sprinkle again. If you are working with a partner, watch your back so nobody steps in wet epoxy. Additionally, sprinkles take a particular touch, so consider having just one person add the sprinkles while the best painter creates a nice smooth finish for the flakes to settle.
Do Not Rush
The newly epoxied floor is really beautiful. You may be tempted to hurry back into the space, just to celebrate having a garage again! However, it is critical that the product be left alone for a bit longer.
Your epoxy floor will need to dry for at least two days before it is fully cured, and three days is even better. However, you may be able to walk on it after 12 to 24 hours. Do not rush back into the space. Setting down heavy objects or solid items that do not allow air flow may alter the curing rate and lessen the quality of your seal.
If you have decided to look for a painter near me to help get this critical project done professionally, you could be saving yourself a lot of trouble. Epoxy is easy to mess up, and some of the chemicals necessary to get the best surface are dangerous. If you are not comfortable with acid, etching, or degreasing, contact Ram Painting for a consultation about the best way to protect and beautify your garage floor.
